
Add a button to Wordpress
Adding a Website button to your Wordpress blog allows your Customers to schedule an appointment with you without leaving your blog.
In this article, you’ll learn how to add a Website button to your Wordpress.org site.
Adding a button to Wordpress
Section titled “Adding a button to Wordpress”- Go to Booking pages in the bar on the left → Booking page → Share & Publish.
- Select the Website button tab (Figure 1).
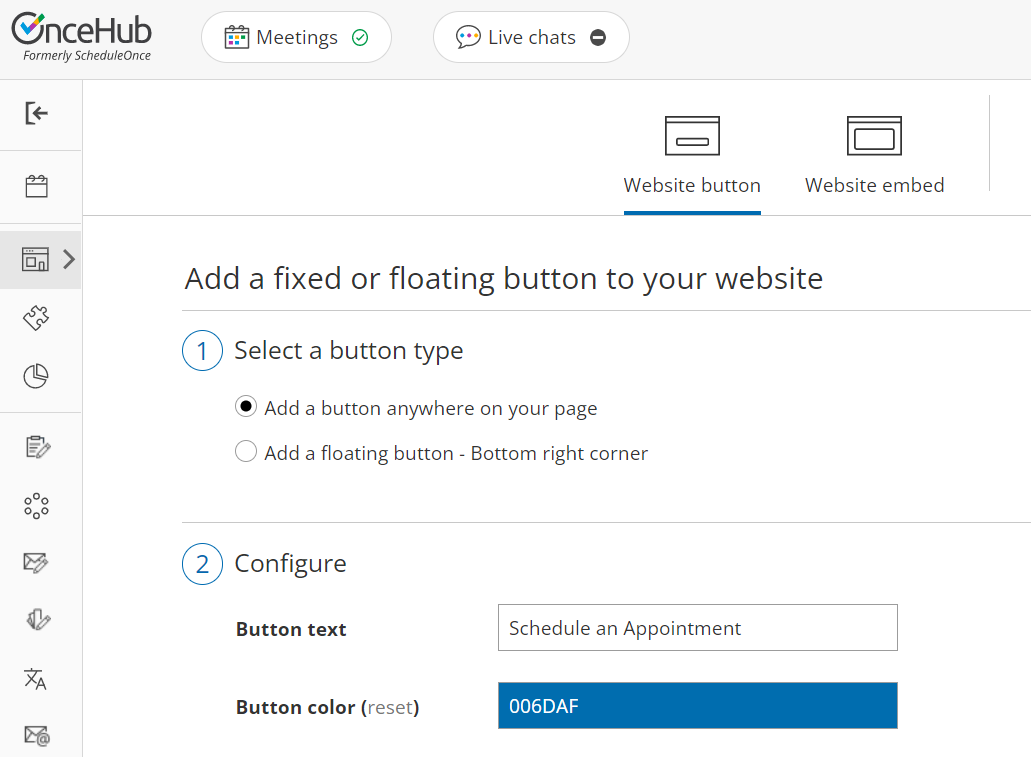 Figure 1: Website button tab
 - In the Select a button type step, select whether you want to Add a button anywhere on your page or Add a floating button.
- In the Configure step, you can edit the Button text and select the Button color.
- In the Select a Booking page step, select the Booking page or Master page you want to create the website button for.
- In the Customer data step, select to have Customers fill out the Booking form, or select a Web form integration option.
- From the Button code step, choose the Display type.
- Click the Copy button to the copy the code to your clipboard.
- Next, go to your Wordpress Administration page.
- In the left sidebar, select Appearance.
- Select Widgets.
- Select the Custom HTML widget.
- Next, choose whether you want to add it to your Blog Sidebar or Footer.
- Click Add Widget.
- In the Custom HTML pop-up, paste the button code from OnceHub.
- Click Done.
- Test the button on your blog and make any adjustments.