
Step-by-step localization
You can localize your scheduling process from start to finish, including the first page your Customer sees, the Confirmation page, cancel/reschedule process, and the notifications they will receive. This provides your Customers with a fully localized experience.
In this article, you’ll learn how to localize the Customer scheduling experience.
Requirements
Section titled “Requirements”To edit locales and modify Notification templates, you must be a OnceHub Administrator.
All account Users, including Members, can localize the pages that they own using existing locales, Booking forms, and Notification templates.
Step-by-step localization
Section titled “Step-by-step localization”To localize the Customer scheduling experience from start to finish, follow the steps below.
Localizing Event types and Booking pages
Section titled “Localizing Event types and Booking pages”-
Go to Booking pages in the bar on the left.
-
Select Localization editor on the left.
-
Select a System locale to edit or create a Custom locale.
-
Booking pages in the bar on the left → select the Booking page that you want to edit.
In the Booking page Overview section, select your edited System locale or your Custom locale (Figure 3).
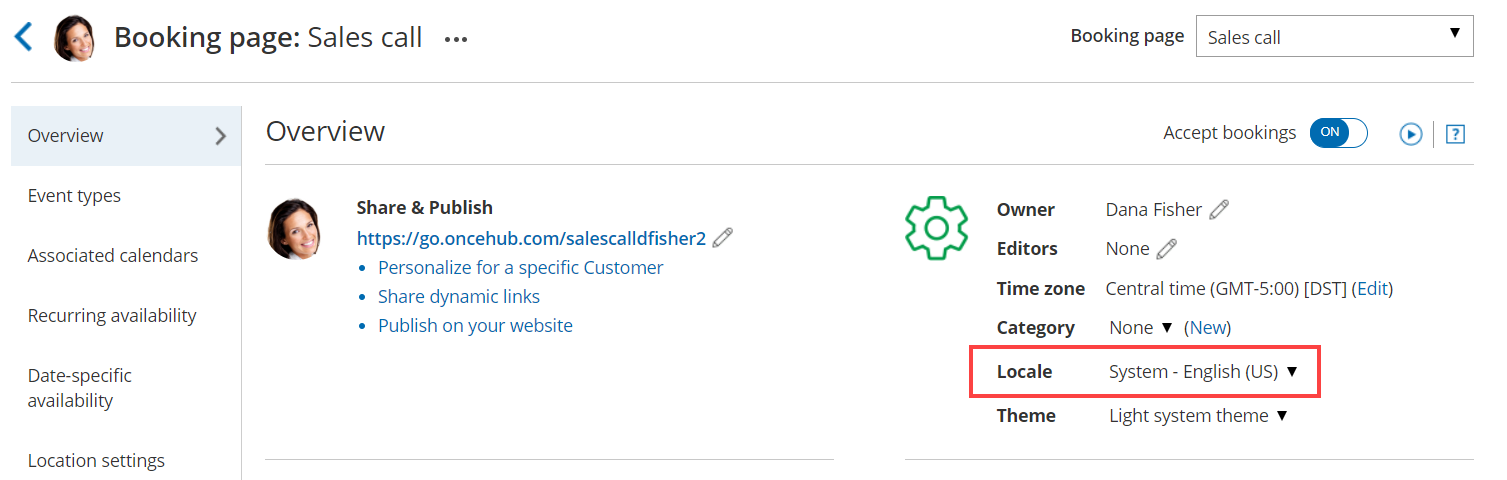 Figure 1: Selecting a Locale in the Booking page Overview section
-
In the Public content section, add Customer-facing text in the appropriate language.
-
Go to Booking pages in the bar on the left. Select Booking forms editor on the left.
-
Edit the text of each field so that it appears in the appropriate language.
-
Go to Booking pages in the bar on the left. Select the Event type that you want to edit.
In the Booking form section, select the booking Booking form that you previously edited (Figure 2) .
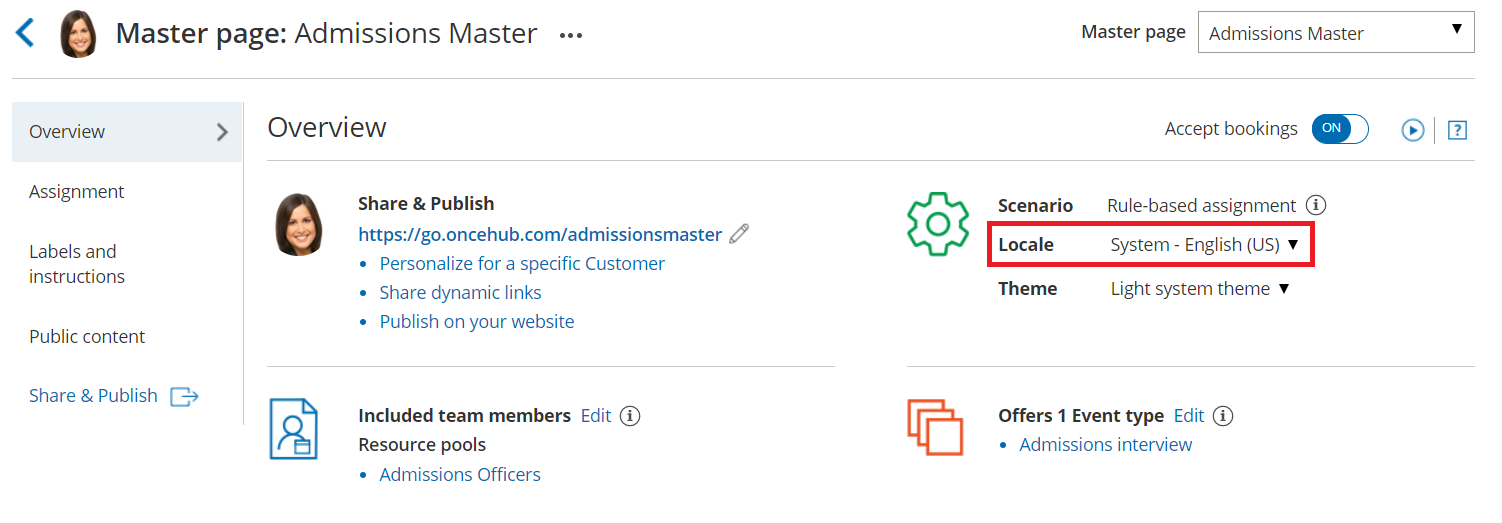 Figure 2: Selecting the edited Booking form
In the Payment and cancel/reschedule policy section, select the Custom text option and enter your policy in the appropriate language (Figure 3).
Figure 3: Entering Custom text for the Payment and cancel/reschedule policy-
In the Public content section, add Customer-facing text in the appropriate language.
Localizing Master pages
Section titled “Localizing Master pages”In the Master page Overview section, select your Custom locale or select the same System locale you selected in the Localization editor (Figure 4).
Figure 4: Selecting a Locale in the Master page Overview section-
In the Labels and instructions section, add labels and instructions in the appropriate language.
-
In the Public content section, add Customer-facing text in the appropriate language.
Your localized Booking page or Master page is now ready to be shared with Customers or published on your website.
Localizing Customer notifications
Section titled “Localizing Customer notifications”- Go to Booking pages in the bar on the left.
- On the left, select the Notification templates editor.
- Create a Custom notification template and translate it into the appropriate language.
- Go to Booking pages in the bar on the left and select the Event type that you want to edit.
- In the Customer notifications section, select the Custom template you previously created.