
Team Scheduling with Event Types: With Team or Panel Pages
You can accept bookings for multiple Team members with multiple Event types. Team members can be accessed via one Master page, or independently through their individual Booking pages. Learn more about User management
Bookings made on a Master page can be either automatically assigned to Team members according to rules you define, or assigned based on the Customer’s selection. In this article, we will talk about team and panel pages.
Requirements
Section titled “Requirements”You must be a OnceHub Administrator to set up this scenario.
How to set up
Section titled “How to set up”-
Create the Event types you require. If you want to work in Automatic booking mode, make sure to select it in the Scheduling options section of each Event type. You can also work in Booking with approval mode.
-
Click on your profile image or initials in the top right corner, select Profile settings, and go to the Users page.
-
Create a User account for each Team member.
-
You can create a Booking page for each Team member and make the Team member the Owner of the page. Alternatively, you can leave it to the Team members to create their own Booking pages.
Once you’re done with the settings, create a Master page. Select Team or panel page in the New Master page pop-up (Figure 1).
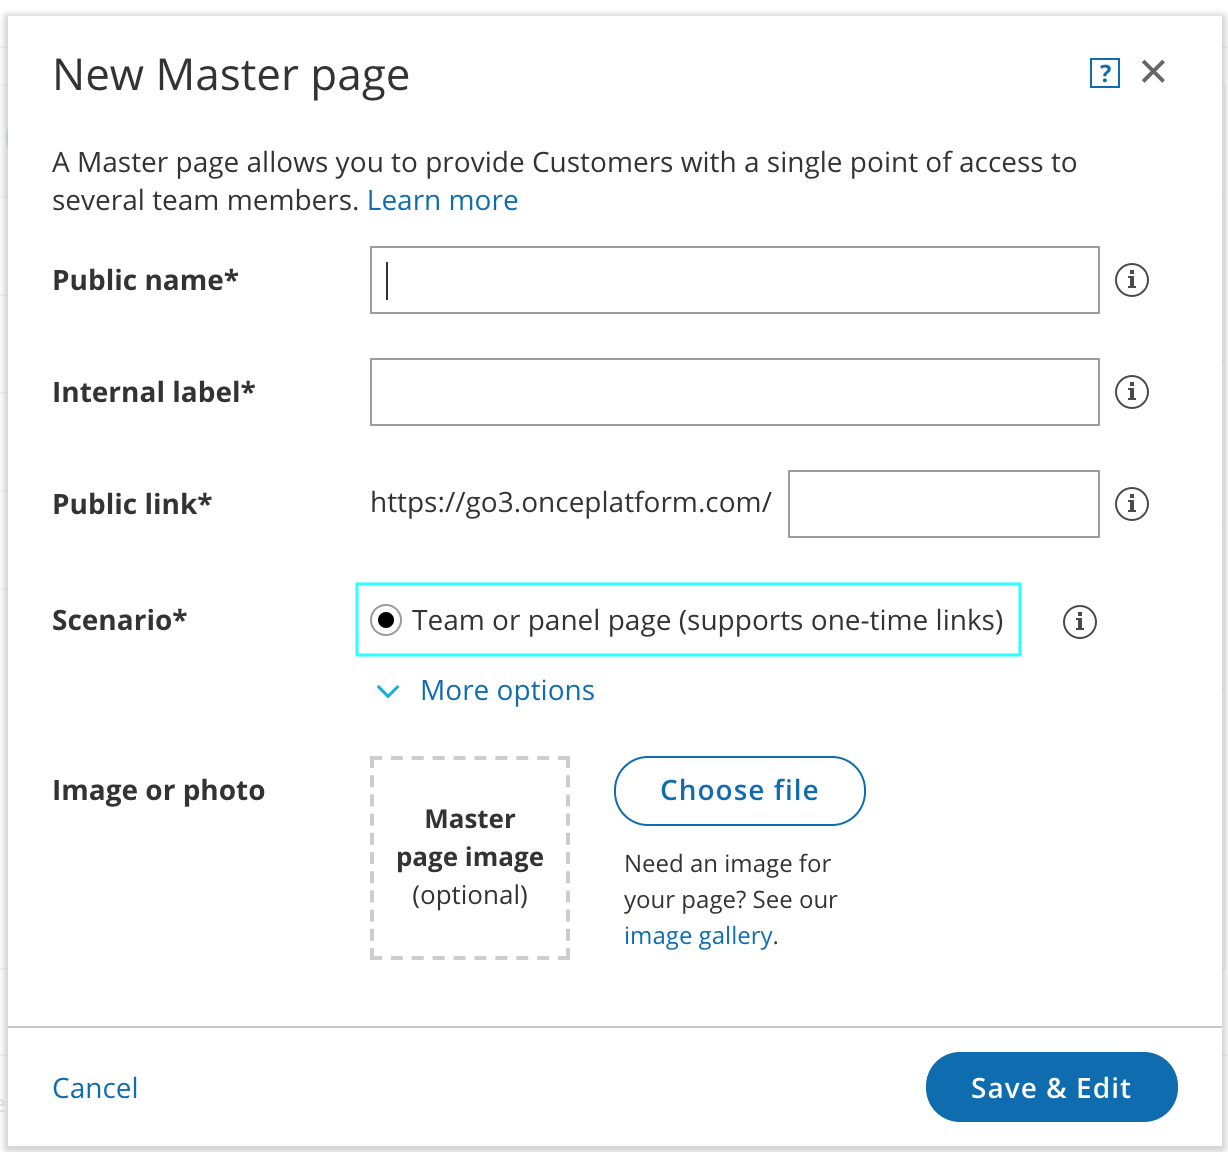 Figure 1: New Master page pop-up
-
Click Save & Edit.
-
You’ll be redirected to the Master page Overview section. This section gives you a summary of your Master page’s main properties. Here you can edit the Master page’s Theme and Locale, as well as access its Share & Publish options.
-
Go to the Event types and assignment section. This is where you create rules to determine how bookings will be assigned to Booking pages.
-
Customize the page’s Labels and instructions and Public content.
You’re all set! To test your Master page, go to the Master page Overview and make a test booking by using the public link in the Share & Publish section.