---
title: "Master pages: Public content"
description: "In the Public content section, you can define information that will help your Customers understand what your Master page is for."
url: "https://help.staticso2.com/scheduleonce/master-pages-resource-pools/master-pages/master-pages-public-content"
---
In the Public content section, you can define information that will help your Customers understand what your Master page is for. You can include basic information about yourself, your organization, your meeting type, location or your staff member and write a welcome message to the Customers who schedule time with you.
The Public content is used when your page is in **Enabled** status as well as in **Disabled** status. When you [disable your Master page](https://help.staticso2.com/scheduleonce/master-pages-resource-pools/master-pages/disabling-your-master-page "Disabling your Master page"), you can keep the Public content section as is, or change it to display a different message.
## Location of the Public content section
[Section titled “Location of the Public content section”](#location-of-the-public-content-section)
You can access this section by going to **Booking pages** on the left and select the relevant Master page **→** **Public content** (Figure 1).
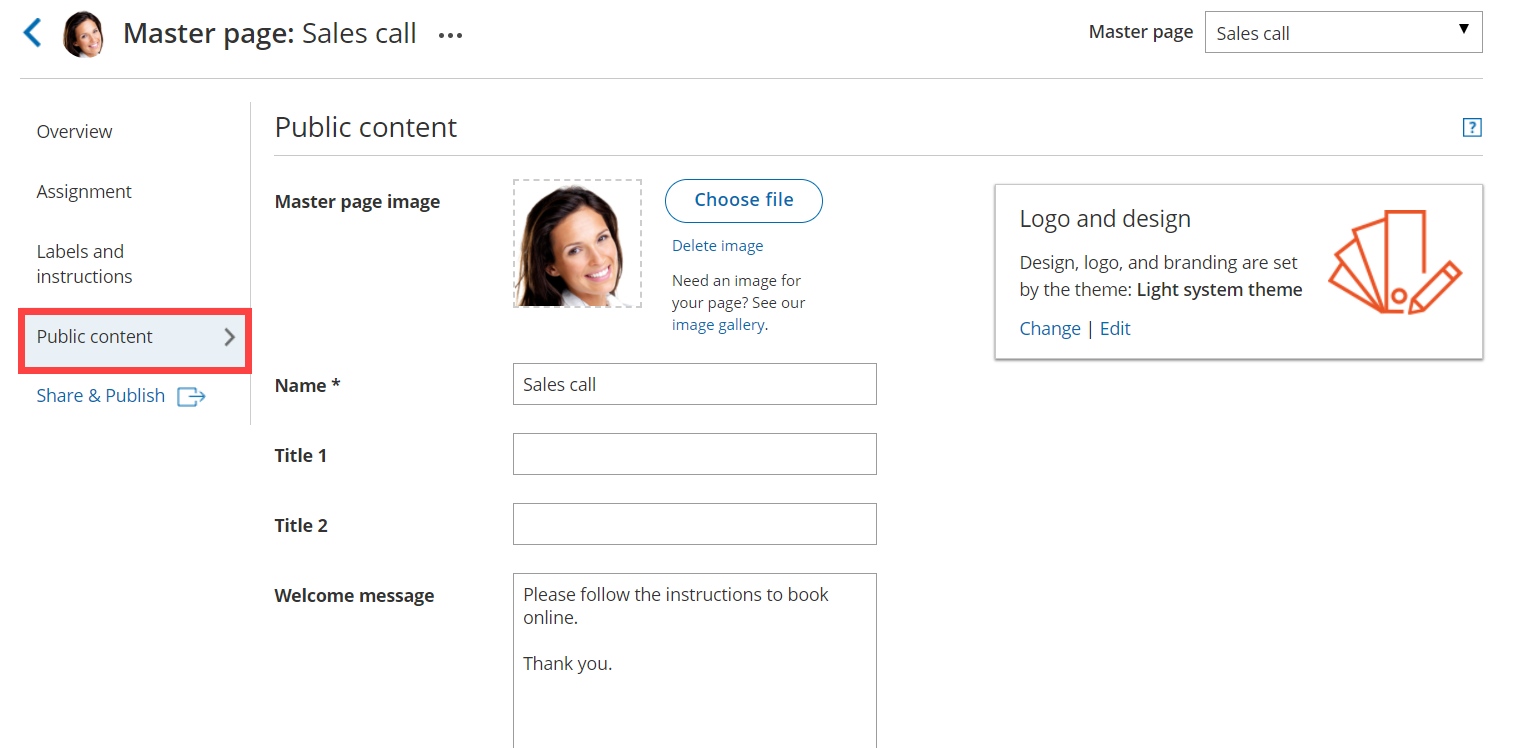Figure 1: Master page Public content section
## Public content features
[Section titled “Public content features”](#public-content-features)
### Add a Master page image
[Section titled “Add a Master page image ”](#add-a-master-page-image-)
Upload a photo or any other image in JPG, PNG or GIF format (max 200KB). It will be cropped or scaled to a 200 x 200 pixels rectangle as part of the upload process.
### Add a Master page name
[Section titled “Add a Master page name”](#add-a-master-page-name)
Enter the name of your page. It can be your name, your organization’s name, or the type of meeting your Customers are booking. You can use up to 75 characters, including spaces.
### Add Titles
[Section titled “Add Titles”](#add-titles)
Enter subheadings to the name of your page.
### Add a Welcome message
[Section titled “Add a Welcome message”](#add-a-welcome-message)
You can enter up to 2,000 characters with spaces.
The welcome message can include hyperlinks (clickable URLs). The Welcome message also allows you to include HTML links.
For instance, adding this code in the Public content session:
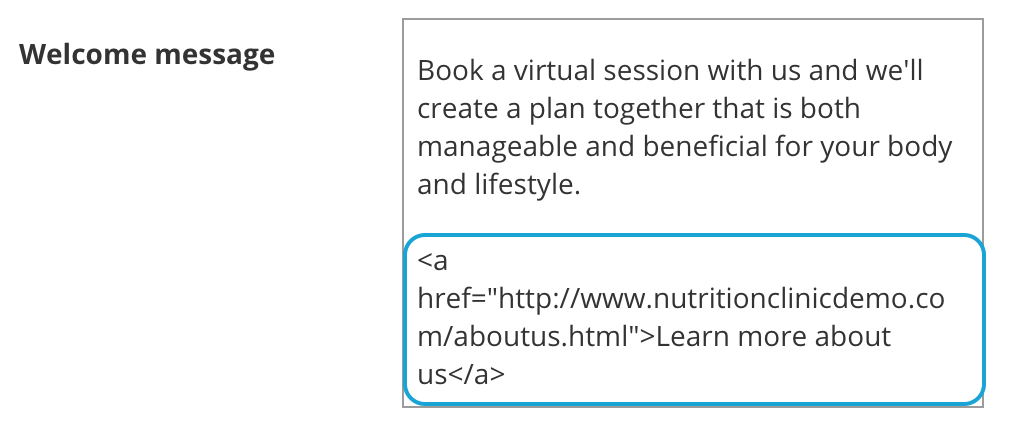Figure 2: HTML link in the Event type description
Note
Do not create a line break after **\
#### Add a link to LinkedIn
[Section titled “Add a link to LinkedIn”](#add-a-link-to-linkedin)
Copy and paste your full LinkedIn URL. It can be a personal or company profile, and must start with [https://www\\.linkedin.com/](https://www%5C.linkedin.com/)
#### Add a link to Facebook
[Section titled “Add a link to Facebook”](#add-a-link-to-facebook)
Copy and paste your full Facebook URL. It can be a personal or company page, and must start with
Note
By default, the customer-facing interface also includes OnceHub branding in the left pane of your Master page; for instance, “Powered by OnceHub.” You can adjust this according to your preference in your OnceHub account **Settings** page.