Add a Scheduling button to your email signature [Classic]
A schedule button in your email is a great call-to-action, whether in your daily interactions with Customers or when running email campaigns. See our full Email button gallery
In this article, you’ll learn the two ways to insert a button into your email signature. The method you choose will depend on your settings.
<script id="snippet-prepend">$(function(){
/*disable in widget*/ if($('.w-documentation-article').length === 0){
var ToC = "<nav role='navigation' class='table-of-contents toc-top'><h4>In this article:" + "<ul>"; var el, title, link, header; //Define the heading levels you want to use in ascending order. Can add extra or remove unneeded. $(".hg-article-body h1, .hg-article-body h2, .hg-article-body h3, .hg-article-body h4").each(function() { el = $(this); title = el.text(); if(title != ''){ anchorTitle = el.text().replace(/([~!@#$%^&*()_+=`{}\[\]\|\\:;'<>,.\/\? ])+/g, '-').toLowerCase(); link = "#" + anchorTitle; //Set all headers to a 0-nesting level. header = 'header-nesting-0'; //Adjust header-nesting layers so that they point to the correct html tag. header-nesting-1 should match the second .hg-article-body h# listed above; header-nesting-2 should match the third, etc. if($(this).is('h2')){ header = 'header-nesting-1'; }else if($(this).is('h3')){ header = 'header-nesting-2' } el.html('<a id="'+anchorTitle+'" class="toc-anchor">' + el.html()); newLine = "<li class='"+header+"'>" + "<a class='article-anchor' href='" + link + "'>" + title + "" + "";
ToC += newLine; } }); ToC += "" + ""; $("#snippet-prepend").before(ToC); }});
</script><style>/* CSS to style the TOC as it displays and the auto-created anchors.toc-top styles the box for the TOC; adjust styles here to tweak look and feel */
.toc-top { background-color: #FAFAFA; /* set to #fff or delete entirely for no background */ border: 1px solid #C8C8C8; /* adjust the color hex here to change border color */ box-shadow: 0 1px 1px rgba(0, 0, 0, 0.05) inset; margin-top: 24px; margin-bottom: 36px; min-height: 20px; padding: 13px 20px; max-width: 75%;}.toc-top h4 { font-size: 18px; line-height: 26px; margin: 0 0 8px; font-weight: 400;}.toc-top ul { padding: 0 0 0 15px !important; margin-bottom: 0;}.toc-top > ul { margin-bottom: 13px!important;}.toc-anchor { display: block; height: 90px; margin-top: -90px; visibility: hidden;}
/* Set the indentation for the nesting levels. May need to be edited to match changes above. Increase or decrease the margin-left to get your desired level of indentation. */.header-nesting-1 { margin-left: 14px;}.header-nesting-1:before { background-image: url(https://dyzz9obi78pm5.cloudfront.net/app/image/id/5d31bcc88e121c9b25ba22c4/n/bulletv2.svg)!important;}.header-nesting-2 { margin-left: 28px;}.header-nesting-2:before { background-image: url(https://dyzz9obi78pm5.cloudfront.net/app/image/id/5d31be536e121cf22b0cc6ae/n/bulletv3.svg)!important;}</style>Insert via URL
Section titled “Insert via URL”You can insert a button without downloading the image to your computer. Most web-based email programs allow you to do this, including Gmail.
- Review the buttons in our scheduling buttons gallery.
- Copy one of the button links on the right.
- In your email signature editor, click the insert picture icon (Figure 1) and paste the link in the URL field.
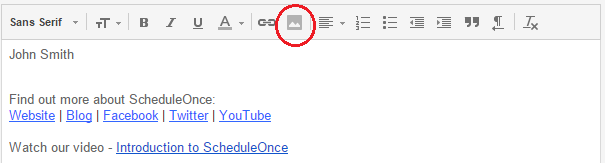 Figure 1: Picture icon in email signature editor
 - In the editor pane, select the newly-added button image to highlight it.
- Click the Add link icon and add your Booking page link (Figure 2).
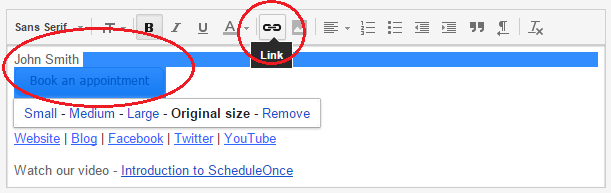 Figure 2: Add a link to your button
Insert by uploading a button image
Section titled “Insert by uploading a button image”You can also insert a button by downloading the image to your computer and then uploading it to your email program. Follow these steps if you use Outlook or another desktop email program.
- Review the buttons in our scheduling buttons gallery.
- Select the one you want
- Save the button to your computer by right-clicking on the button and selecting Save image as…
- In the email signature editor, click the Upload image icon (Figure 3) and select the file you’ve just saved.
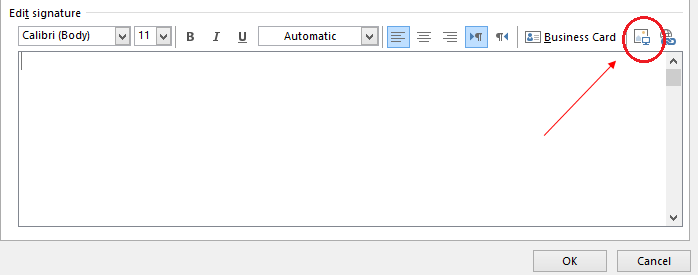 Figure 3: Upload image icon
 - In the editor pane, select the newly-added button image to highlight it.
- Click the Add link icon (Figure 4) to add your Booking page link to the image.
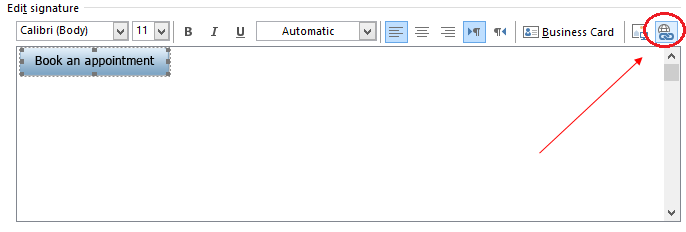 Figure 4: Add link icon
NoteEvery email program is different and the images used in this article may not match your email client’s interface exactly.